How to Set Up My Disney Experience

If you’re planning your first Disney World vacation, you’ll hear people talk about My Disney Experience almost immediately.
At first, it sounds like just another vacation app.
The reality?
My Disney Experience is the control center for your entire Disney World trip.
Your hotel reservation, park tickets, dining reservations, Lightning Lane selections, Mobile Food Orders, PhotoPass photos, MagicBands, and even your resort room key can all be managed from one place.
For first-time Disney dads, learning the app before your trip can save a tremendous amount of stress once you arrive.
The good news is that setting everything up is easier than it looks.
What Is My Disney Experience?
My Disney Experience is Disney World’s official vacation planning platform.
You can access it through:
- The My Disney Experience mobile app
- Disney World’s website
- Your Disney account
Think of it as your Disney vacation dashboard.
Before your trip you’ll use it for planning.
During your trip you’ll use it constantly.
Step 1: Create Your Disney Account
Before doing anything else, you’ll need a Disney account.
Visit Disney World’s website and create an account using:
- Email address
- Password
- Personal information
Use an email address you check regularly because Disney will send reservation confirmations and important updates there.
Step 2: Download the App
Install the My Disney Experience app on:
- iPhone
- Android
After downloading:
- Open the app
- Sign in with your Disney account
- Allow notifications
Notifications can be helpful for:
- Lightning Lane updates
- Dining reminders
- Reservation alerts
- Mobile Order status
Step 3: Link Your Resort Reservation
If you’re staying at a Disney resort hotel, you’ll want to connect your reservation.
Inside the app:
- Tap the menu icon
- Select Hotel Reservations
- Choose Link Reservation
- Enter your confirmation number
Once linked, you’ll be able to:
- View resort details
- See check-in information
- Use online check-in
- Access room information
Step 4: Link Your Park Tickets
Your tickets should also be linked before your trip.
To link tickets:
- Open the menu
- Select Tickets and Passes
- Tap Link Tickets
- Enter the ticket ID
Once connected, tickets will appear for every family member assigned to them.
Step 5: Add Your Family Members
This is one of the most important steps.
Disney allows one person—usually Dad—to manage plans for everyone.
Go to:
Family & Friends List
Add:
- Spouse
- Children
- Grandparents
- Anyone traveling with your group
Doing this allows you to:
- Book Lightning Lanes together
- Make dining reservations together
- Share plans
- Manage tickets
Step 6: Set Up MagicBands
If your family uses MagicBands, connect them before arriving.
MagicBands can be used for:
- Park entry
- Lightning Lane access
- Resort room entry
- PhotoPass photos
- Charging purchases to your room
To link a MagicBand:
- Open the app
- Select MagicBands
- Enter the band number
Assign each band to the correct family member.
Step 7: Complete Online Check-In
One of the easiest ways to save time on arrival day is online check-in.
Benefits include:
- Skip the front desk
- Receive room assignment automatically
- Head straight to your room
You can usually complete check-in several days before arrival.
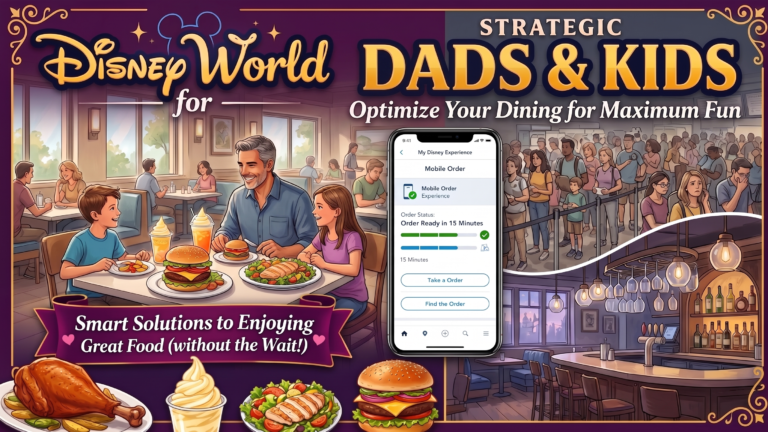
Step 8: Learn Mobile Food Ordering
Many Disney dads don’t discover Mobile Order until halfway through their trip.
Don’t make that mistake.
Mobile Order allows you to:
- Order food ahead of time
- Skip long lines
- Save time during busy meal periods
Popular quick-service locations often have significantly shorter waits through Mobile Order.
Step 9: Understand Lightning Lane
Lightning Lane is Disney’s paid ride reservation system.
Inside My Disney Experience you’ll use it to:
- Purchase Lightning Lane access
- Select return times
- Modify reservations
- View attraction availability
If you’re visiting during a busy season, understanding Lightning Lane before your trip can save hours of waiting.
Step 10: Explore the Park Maps
The app’s interactive maps are incredibly useful.
You can view:
- Attractions
- Restaurants
- Restrooms
- Transportation
- Character locations
- Wait times
Spend a few minutes exploring the maps before your trip.
It will make the parks feel much less overwhelming once you arrive.
Step 11: Use Disney PhotoPass
PhotoPass photographers are located throughout Disney World.
When linked correctly, photos can automatically appear in your account.
You can view:
- Attraction photos
- Character photos
- Family pictures
- Magic Shots
No more trying to hand your phone to strangers.
Common First-Timer Mistakes
Waiting Until Arrival to Set Everything Up
Complete setup before leaving home.
The last thing you want to do after a travel day is troubleshoot accounts.
Not Linking Everyone Together
Many families discover this issue when trying to book Lightning Lanes.
Always verify every traveler appears in your Family & Friends list.
Ignoring Mobile Order
Mobile Order can easily save an hour or more every day.
Not Learning the App Before Vacation
Spend 15–20 minutes exploring the app a few weeks before your trip.
You’ll feel much more confident once you’re in the parks.
Dad’s Pro Tip
The best thing you can do before your Disney vacation is set up My Disney Experience completely and practice using it.
Link your tickets, connect your resort reservation, add your family members, and explore the menus.
When your vacation starts, you’ll spend less time staring at your phone and more time making memories with your family.
Because at Disney World, the goal isn’t perfection—the goal is making memories.
Discover more from Disney World for Dads
Subscribe to get the latest posts sent to your email.